When I was little, my grand parents lived abroad and the most magical thing was getting to see them and eating my Grandma's lemon drizzle cake - it was (and still is, really) my favourite cake. She would always make hers round and the smell of it, just out of the oven, permeating her flat along with the general aroma of chicken soup is a Proustian memory.
Years and years later, I use her cake tins (thrust upon me when I went round with a lemon drizzle loaf for her), but I make mine in a loaf shape and follow Nigella's recipe (Grandma never did give me hers).
The smell of it baking is the same though, and always brings back those memories.
 |
You will need:
Pre-heated oven at 180 degrees / 170 degrees fan assisted / gas mark 4
125 g unsalted butter (pref organic)
175g fair trade caster suagr
2 large free range organic eggs
the zest of one lemon (pref unwaxed or you're eating chemicals)
175g self raising flour
4 tablespoons of milk
The juice of 1 and a half lemons
100g icing sugar |
 |
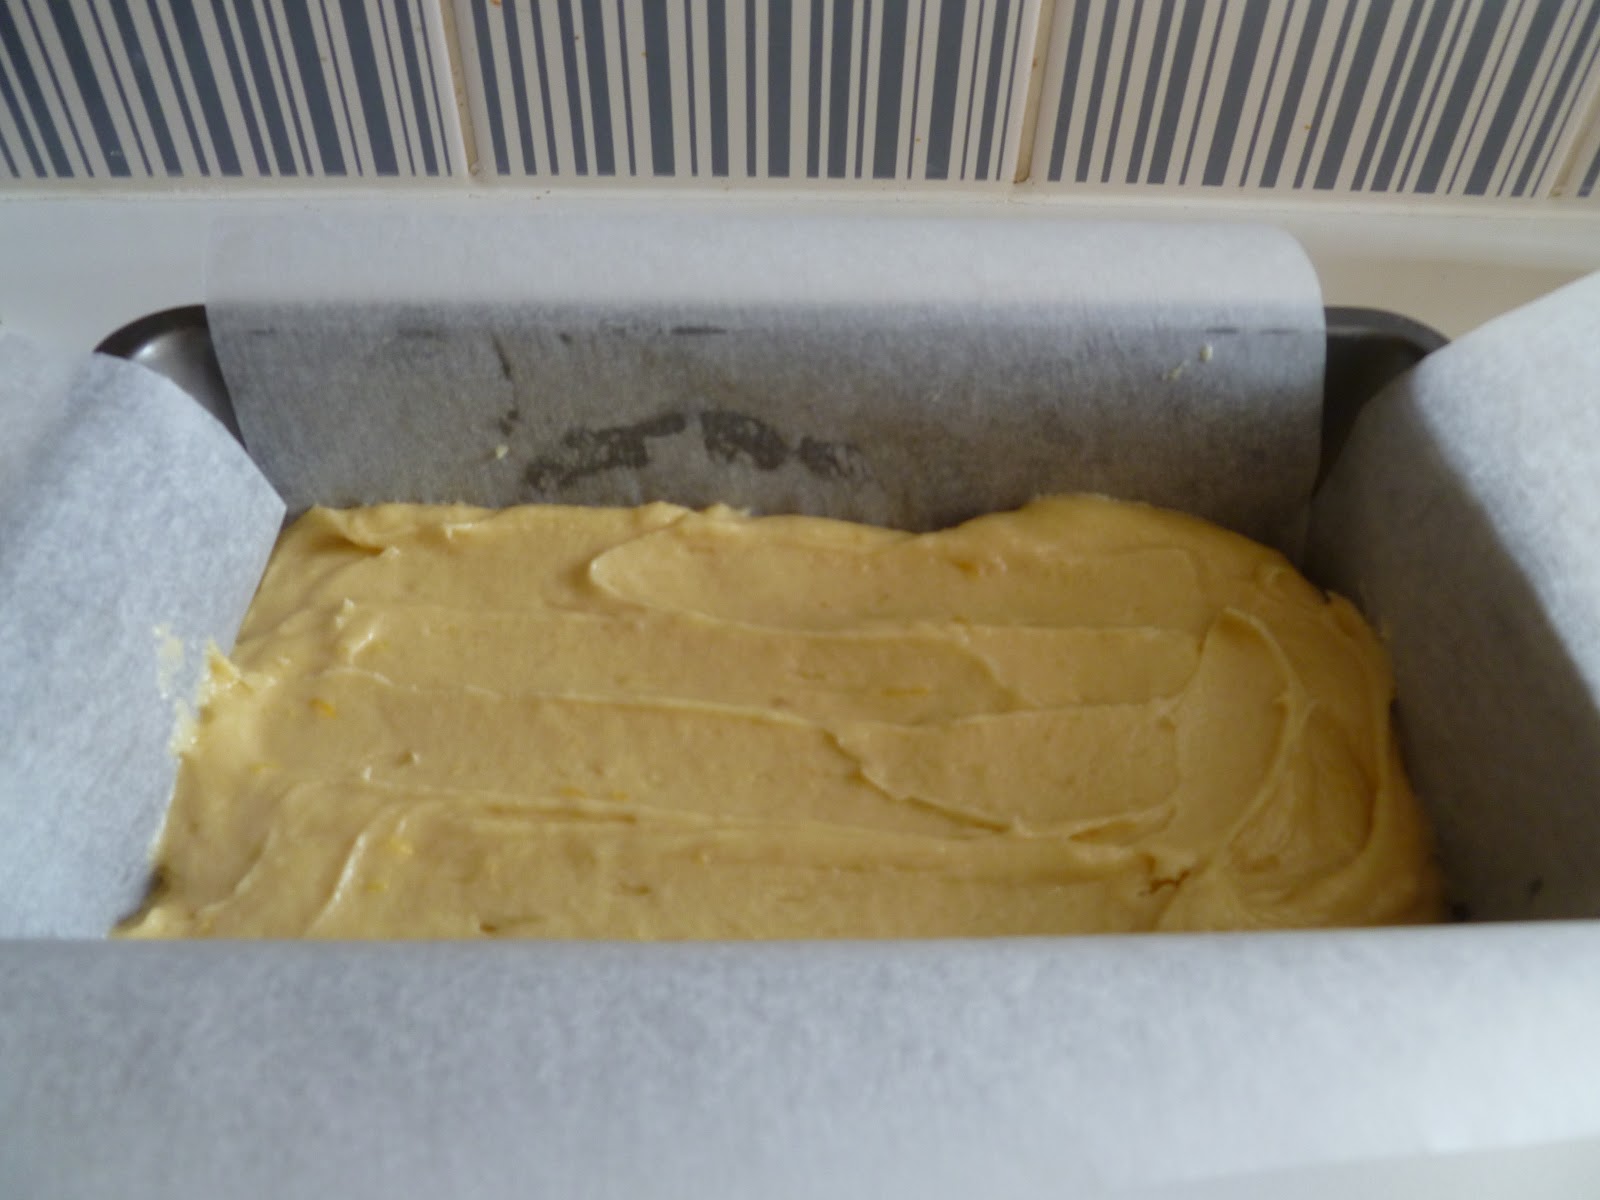
| You will also need a buttered and lined cake tin. I know it's a hassle but it is essential and worth the effort. Some people love lining cake tins. I do not. |
First you need to cream the sugar and butter together. Top tip; have a packet of butter that you leave out of the fridge ready for baking. This way creaming butter and sugar will be ten million ties easier. (As regular readers know, I do everything by hand as I don't have a magimix so thinking in advance is essential!)
Then, add the eggs one at a time, beating in well, along with the lemon zest. Be generous on the lemon zest front and adapt according to the size of your lemon - if your cake mixture does not smell lemony you must add more!
Next, sift the flour into the mixture and fold in with a large metal spoon. When
'The Kitchener' opened in NW6, I went and bought two WONDERFULLY large Alice-esque metal spoons that truly changed my baking. Up until that point I had somehow been managing to fold in using tablespoons?! I actually don't know how my cakes ever rose...
Once the flour has been thoroughly (but gently) folded in, add the milk and fold in til it's soft dropping consistency.
You should have an extremely smooth, creamy coloured mixture.
Pop the cake in the oven on the middle shelf and bake for 40-45 mins. I normally check at 40 as it turns very quickly. It should be well risen and a cake skewer will come out clean when it's done.
Ten mins before the cooking time is up, begin to make the syrup. (Aside: My friend Sonja bought me this amazing lemon squeezer when she discovered I squeezed oranges by pushing them through a sieve...!!!! This, along with the large silver metal spoons, has made making a lemon drizzle cake a billion times more straightforward!)
Squeeze one and a half lemons and add to a small pan along with 100g icing sugar. Heat very very gently until the sugar dissolves. Don't stir it, but you can swizzle the cake skewer across the bottom of the pan if it needs a little help to get going...
Now for the fun bit! As soon as the cake is out of the oven, pierce it all over with the cake skewer. Make sure you cover all angles as the syrup needs to cover the whole cake.
Pur the syrup into the holes and watch the surface of the cake begin to sheen. Leave to cool completely in the tin (which should be on a wire cooling tray) before taking out. Your kitchen will be smelling heavenly by this point.
Once cooled you can, if you like, ice it with a simple icing sugar and lemon glaze. It doesn't really need this, but I suppose it makes it look more 'finished' if you like and helps it to last longer. This cake will last for a very long time though - it stays moist because of the lemon drizzle - and you can change the lemons to oranges or whatever takes your fancy if you happen to have extra citrus fruit in the house.
A quintessential British summertime afternoon tea treat. Yum!
Fondest fancies,
Silver Whimsy x
PS Coming to a Jester Festival near you soon!